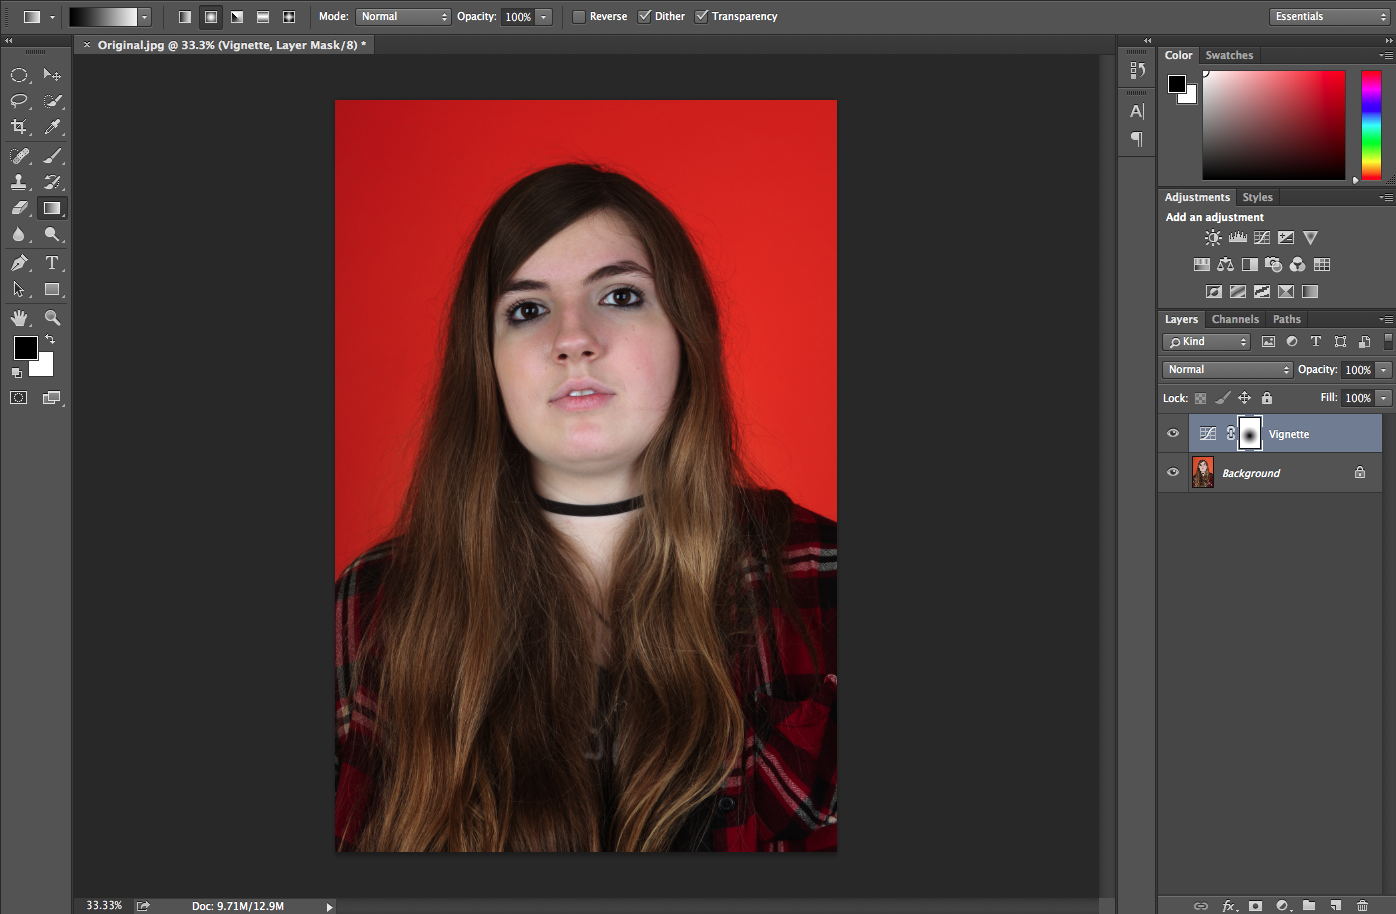
Monday 1 February 2016

Photoshop Editing Process - Blemish Tool

Photoshop - 

Before -


After Skin Retouching -


After Blemish and Wrinkle Retouching -  


The Process Skin Retouching- 
1. Select 'Image'
2. Go to 'Mode'
3. Select CMYK
4. Go across to 'Channels'
5. CMD A
6. CMD C
7. Go back to layers
8. Edit
9. CMD ALT Z
10. CMD V
11. ALT K and select the 'Create New Mask' tool
12. Rename the layer 'Flaws'
13. CMD I (or image adjustment invert)
14. Change the mode to 'Soft Light'
15. Create an inverse mask using ALT add layer mask
16. Paint white over the areas of imperfections with an opacity of 50%

The Process Blemish and Wrinkle Retouching - 
1. Select the background layer
2. Using CMD J duplicate the layer
3. Select the 'Spot Healing' tool
4. Paint over the imperfections with the brush

Before:


After :


Evaluation :
I am satisfied with the overall appearance of the final image and the techniques used to achieve it. However, if I was to be extremely critical I would say that the skin retouching has made the subjects skin slightly grey. Although, the blemish and wrinkles tool worked extremely well for removing some of the skin imperfections. One disadvantage of the technique is that the background colour is also altered but it is something that can easily be adjusted. Therefore, the techniques are something that I would implement again in the future when editing images in Photoshop.

Photoshop Editing Process - Colour Select

Before:


After:


Evaluation:


Process: Colour Select


Begin with the original image.


Next, using the 'Quick Select Tool' select the part that you wish to change the colour of, or if easier select the part you don't want then go to 'Select' and 'Inverse'. 


Using the sliders adjust the image as you wish. 


This is the final image. 

Photoshop Editing Process - Vignette

Before: 


After:


Evaluation:
The vignette tool is good for adding definition and emphasis to the foreground of an image especially in portrait photography. It is most likely a tool that I will use again in the future.


Process: Vignette


Select 'Layer', scroll down to 'New Adjustment Layer' and then choose 'Curves'.


Next, adjust the image using the 'Curves' tool to make it darker. 


Drag out the line so that the face is illuminated. 


This is the final image once altered using vignette. 

Photoshop Editing Process - Sharpen

Before:


After:


Evaluation:
I am pleased with the outcome of this image.

Process: Sharpen


This is the original image. 


Go to 'Layer' then select 'Duplicate Layer' and name it sharpen.


Next, go to the 'Filter' section, scroll down to 'Sharpen' and select 'Unsharp Mask'. 


This box should appear and allow you to change the values until you are happy with the 'Sharpen'. The common values that I use are 'Amount: 70%', 'Radius/ Pixels: 2.0' and 'Threshold: 4'. 


This is the final image once sharpened; the image does not immediately appear sharpened but upon closer inspection the difference can be noticed. This is a useful technique that I will probably use again the future. 


Photoshop Editing Process - Levels

Photoshop - 

Before:


After:


Evaluation:
Whilst I prefer the top image before using levels this technique is very important and I will be using it again in the future. This is good for adjusting the contrast and the brightness in a more professional way than the original 'Contrast and Brightness' tool.

Process: Levels


Begin with the original image. 


Select the 'Levels' tool.


Finally, move around the arrows to adjust the contrast of the image. This is the final outcome. 

Photoshop Editing Process - Curves

Photoshop - 

Before: 


After:


Evaluation:
For this specific image I prefer the original. However, if I was to edit another image the contrast of colours could be enhanced through the use of curves so it is a technique that I will bear in mind.


Process: Curves


Begin with the original image.


Secondly, select the 'Curves' tool.


Next, adjust the image with the curve to make the overall image darker or lighter. 


This is the final outcome. 

Photoshop Editing Process - Hue and Saturation

Photoshop - 

Before:


After:


Evaluation:
I like both of the above images for different reasons as they both evoke something different. The original image was duller and less saturated giving it an eerie and more sad tone whilst the edited image create by adducting the hue and saturation in photoshop appears more lively.


Process: Hue and Saturation 


Select your original image that you wish to adjust.


Next, go down to the 'Create New Fill or Adjustment Layer' and select 'Hue and Saturation'. 


Use the slider bars to adjust the image until satisfied. 


This is the final outcome. A brighter more saturated image. 


Photoshop Editing Process - White Balance

Photoshop - 

Before:


After:


Evaluation:
I was happier with the original image before editing the white balance in photoshop. This is because, in the final outcome, the background appears over-exposed. However, this may be because this particular image did not necessarily need white balance adjustment.


Process: White Balance 


I began with the original image.


Next, select the 'Levels' shortcut. 


Choose the middle/bottom pipette/ dropper icon. 


Finally, press enter and this is the final outcome.